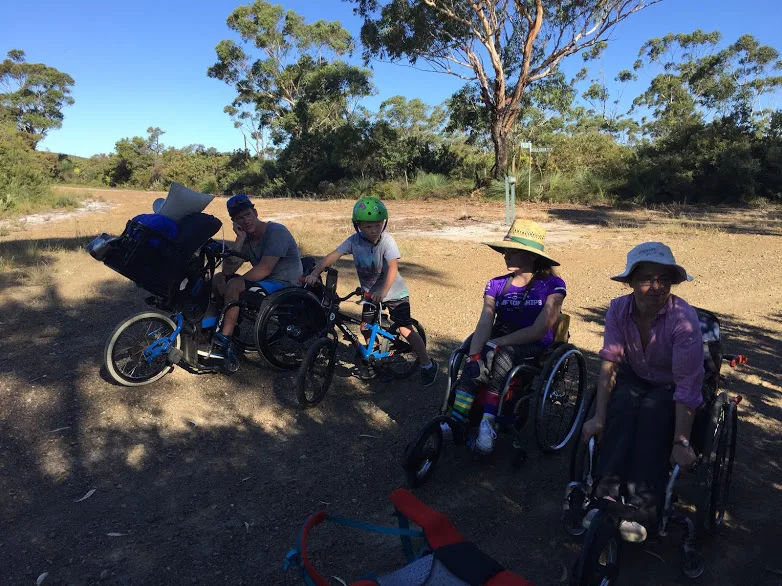
Bushwalkers using wheelchairs
Bushwalking using a wheelchair is a lot of fun and helps you ‘get away from it all’. It means thinking through things a little differently in terms of carrying all camping gear as well as food, water and backup supplies in case of unexpected changes. This requires a bit of thinking around gear suitability, including how heavy and bulky the gear is as well as whether it suits the conditions.
Here we run through various types of adaptive equipment, selecting, using it, and looking after it.
We also have a separate post on safely providing people that use wheelchairs with assistance.
Manual wheelchairs users may consider the following alternatives or adaptations:
- Front wheel attachments e.g. Freewheel or Frontwheel
- Power assist devices e.g. Batec
- Handcycles e.g. Batex Quad manual
- All-terrain wheelchairs e.g. Hippocampe, Mountain Trike
Below we summarise the adaptive equipment we used and the pros and cons and things we learnt.
- FreewheelTM
A front wheel attachment that lifts the front casters of a manual chair off the ground. Lightweight and portable, an excellent option for travellers. Price approximately $800.
Pros:
Cons:
- Can be quite fiddly to set up.
- Set-up must be set to a specific chair (can’t easily swap and share).
- Can be hard to get used to using for some, ideally practice and training is needed before using over long distances.
Cons:
- Battery life limits the distance you can go - need to be prepared with spare batteries if going a long distance.
Cons:
- Another piece of equipment to purchase in addition to having regular wheels.
Cons:
- Expensive equipment e.g. Batec hybrid ~$10,000 (but may be affordable for people with NDIS support or Lifetime Care Insurance).
Movement powered by two levers for wheelchair user’s arms. It uses handbrakes like a bicycle. It turns by twisting wrist left or right on dominant hand.
Pros:
Cons:
- Expensive equipment. ~$8,000
Manual and Electric wheelchair users may consider 4WD options, or sherper-assist solutions such as the Trailrider.
- Extreme X8 – 4×4 Electric Wheelchair
All-Terrain powered wheelchair can navigate many steep and rough routes. It can be used on the beach, snow and also can be used on off-road trails and bushwalking trails.
Pros:
Cons:
- Battery life limits the distance you can go.
- Can’t be driven into water (rivers, creeks, sea) because of electric motor.
- Expensive equipment (>$10,000, but may be affordable for people with NDIS support or Lifetime Care Insurance).
Cons:
- Wheelchair user isn’t in control of Trailrider.
- The TrailRider required a minimum of two “sherpas”, with up to four needed when going up steep inclines.
- Some people wouldn’t have enough friends suitable to be “sherpas”.
- Expensive equipment (~$7000).
- Main message here is - Talk to your Occupational Therapist, Physio or treating clinician (if you have one).
- If battery powered - Check the battery life of any assistive devices will last the distance, plus additional movement (e.g. firewood collection etc).
Test out equipment before tackling an overnight bushwalking track. Pushing over rough terrain for any length of time is quite unusual in an urban context, so test out your endurance on some similar tracks near home first. The more comfortable you are with your gear and the better your fitness, the more you will enjoy the bushwalk.
Two good options for day bushwalks near Sydney that cover (somewhat) similar terrain to the Old Gibber Road in Myall Lakes include:
- Narrabeen Lagoon - an 8.5km circuit around Narrabeen lagoon. Practice the south section a few times, as this is unsealed and more typical of the pushing effort expected in Myall Lakes National Park. Roughly two-thirds of this track is on sealed pathways, so this gives you a good sense of what a long distance feels like to push, but be aware that the Myall Lakes tracks are all unsealed.
- Lady Carrington Drive - a 10km through trip all along an unsealed road. We suggest tackling this starting from the south side and ending at the north side near the cafe and visitor centre (this means the first hill is a big downhill - not a big uphill). This track condition is typical of what you might expect at Myall Lakes, but far more undulating. You could consider doing a shorter section of this track as an out-and-back for say 2km starting at the visitor centre to get a sense for what a ‘firetrail’ terrain feels like.
It may be wise to talk to your health professionals about appropriate gear and training/tests that best prepare you for this trip.
Some things to practice include:
- Pushing on gravel paths/roads and getting comfortable with all-terrain adaptive equipment additions (e.g. FreewheelTM).
- Loading up your chair with gear and pushing it while loaded.
- Setting up tent, sleeping mat and bag and getting into it (e.g. floor to chair transfers). For people prone to skin and pressure injury, it’s very important to test if sleeping mats are appropriate for comfort and support, and do not create or aggravate any skin or pressure injuries.
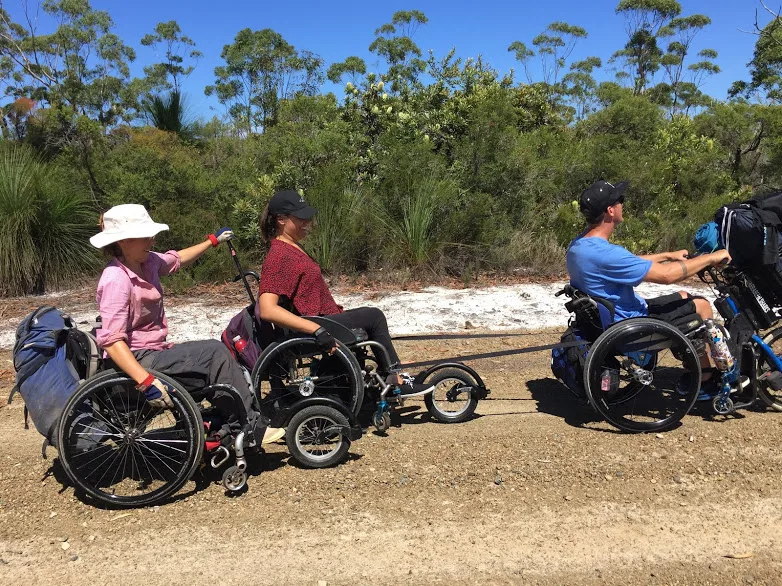
Lastly, think through appropriate assistance that you as a wheelchair user might request and practice what this assistance looks like, making sure to minimise injury for the person providing assistance. For instance, using the handles of a wheelchair to push someone for an extended period of time may become uncomfortable with a heavy pack, so consider alternatives such as using ropes or raising the pushing handles of the wheelchair.
Optimise chair set up
With carrying additional gear on a bushwalking trip, a wheelchair can easily become unbalanced, making the journey extremely challenging, unpleasant and potentially dangerous. Hence, it’s worth spending a bit of time thinking through your chair setup and attachments and testing out what works well for you at home.
- Try to distribute gear weight around chair so not all the weight is at the back.
- Can you load some gear on the front? E.g. Freewheel rackTM.
- Cargo nets can support surprisingly heavy weights, and are great for storing heavy items such as water bottles.
It may make sense to adjust the ‘tippy-ness’ of your chair for this trip. If your chair axel is set further forward, the chair will be more tippy and prone to flipping even with a small amount of additional backpack weight. Setting the axle back can alleviate this to some degree (but there will still be a limit to the total weight you can load onto the chair).
For overnight trips - floor to chair
Floor-to-chair and chair-to-floor transfers are one of those relatively unusual movements that you have to do regularly when camping to get in and out of the tent. Find a technique that works well for you that is reliable and minimises the risk of injury.
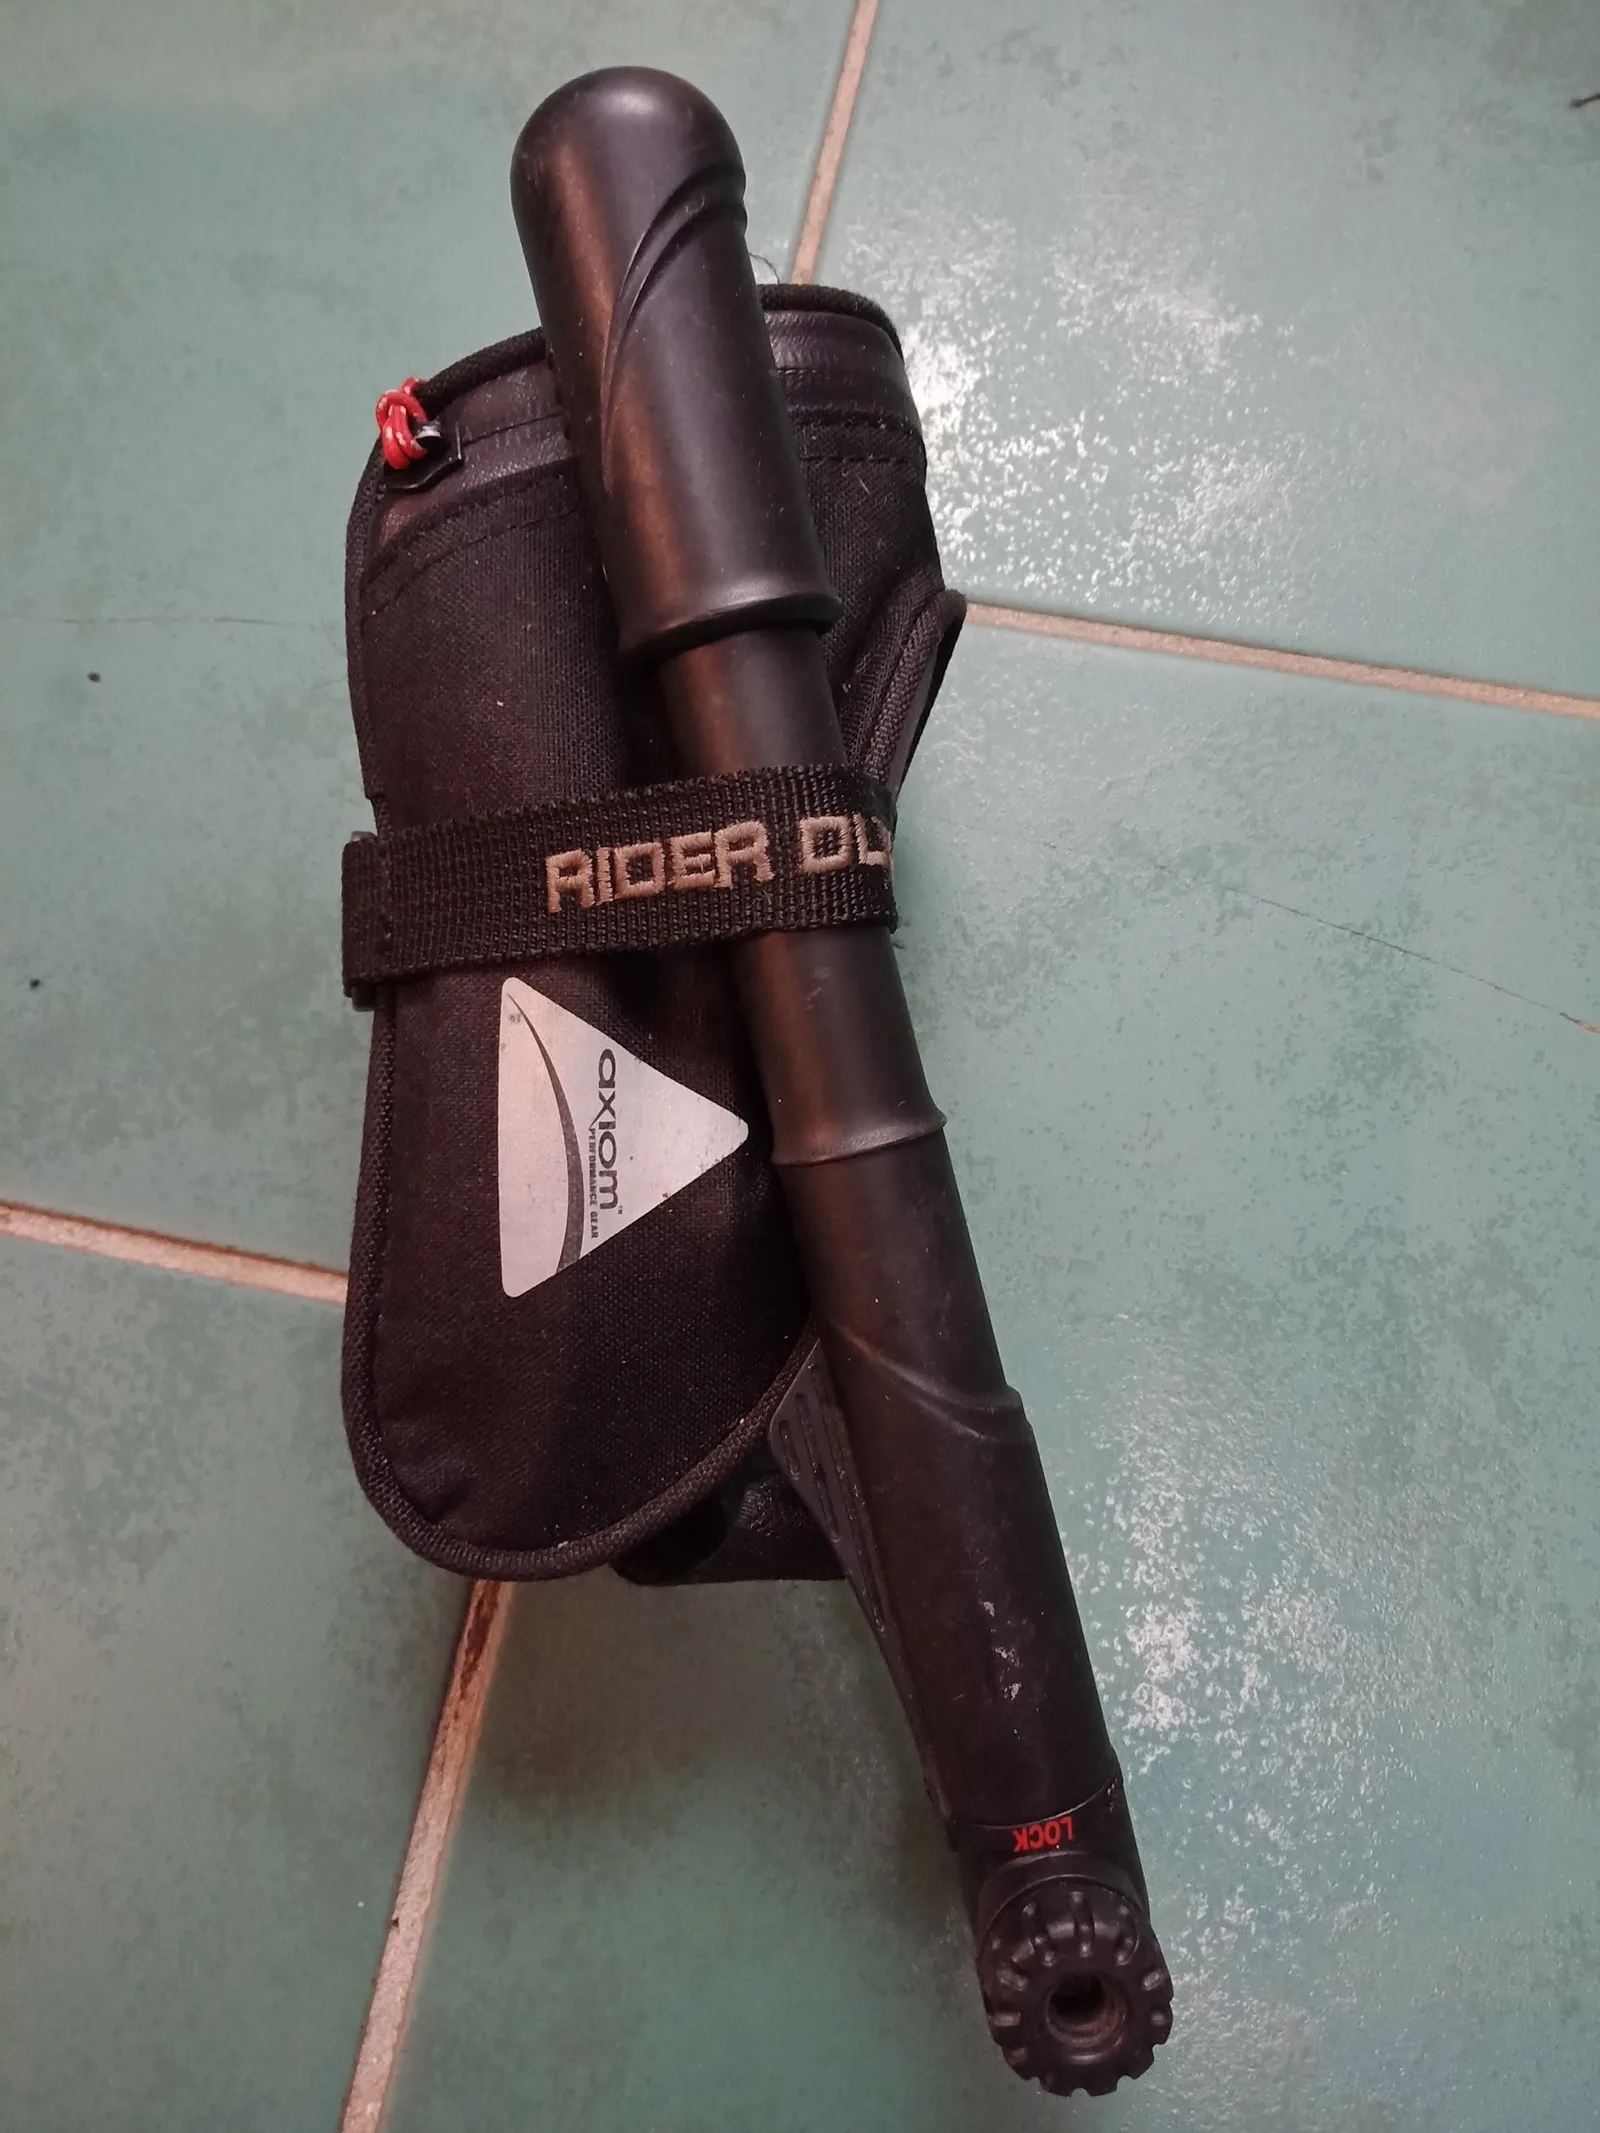
Some options to ease floor to chair transfers include:
- Use a push-up handle to increase height of push and reduce pressure on wrist.
- If using a FreewheelTM this can be used to assist with a transfer. Video link.
- Ask someone to ‘lend a knee’ to add additional height for you to push off from.
Consider working with your health professional to find a technique that works well for you and anyone that is providing assistance.
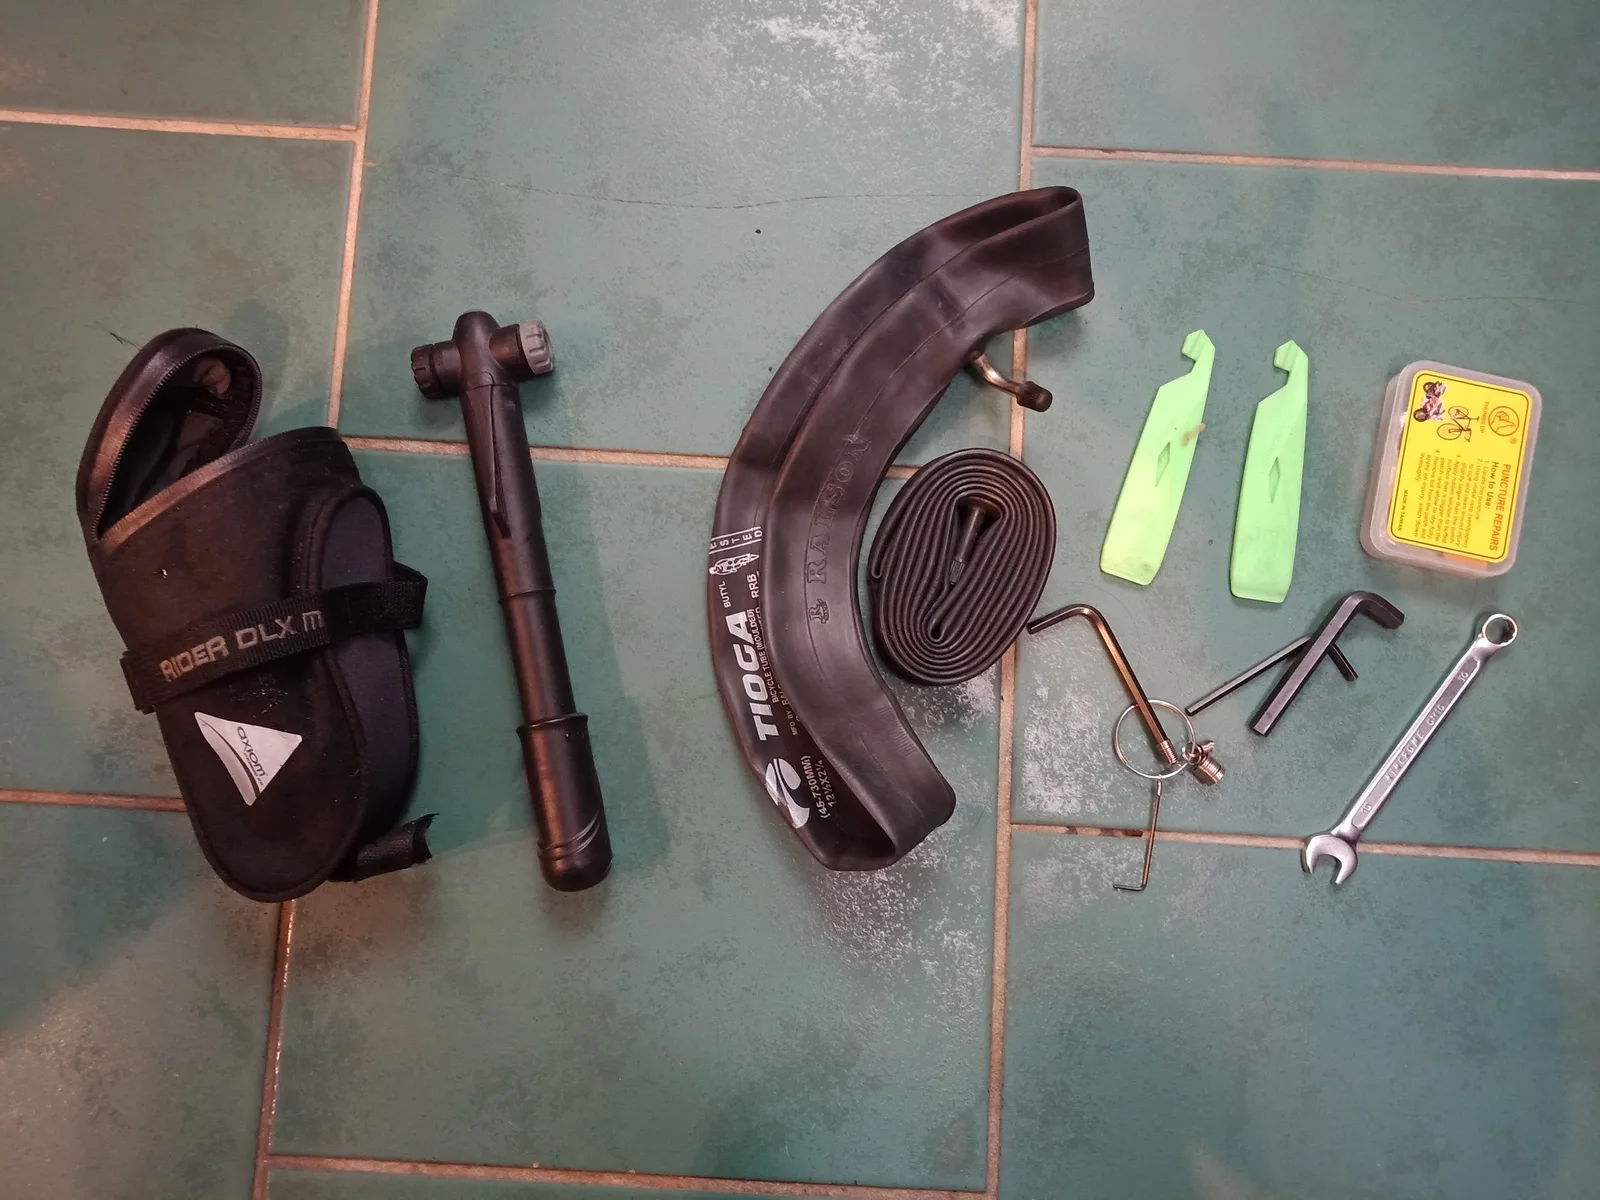
Make sure you’ve got all the parts and repair kit.
It’s a good idea to carry spare parts and be comfortable dealing with likely mechanical failures.
Unfortunately, wheelchairs (and adaptive equipment like the FreewheelTM) can have quite specific parts, so it’s not always easy to share repair kits and tools. It’s worth putting together a small repair kit that meets exactly the needs of your chair should anything break in the bush.
Repair kit component could include:
- Puncture repair kit (tire levers, patches, glue).
- Spare inner tubes (correct size to for wheelchair and FreewheelTM).
- Spanners, allen keys etc. specific to your chair (Note: you may be able to use tools on your penknife for some repairs to save carrying two items).
- Screws, bearing etc.
If unsure, chat to the service provider that maintains and services your equipment and find out how best to prepare and prevent typical mechanical issues.
- On trail
Toileting
Many longer bushwalking tracks will not have toilets along the track. However, there will very likely be many places along the track behind a tree where wheelchair users can discreetly do their business (including catheterisation if this works best for you).
Some wheelchair users find that using a temporary indwelling catheter can be a great way of reducing the stress around toileting on bushwalking trips (make sure to carry spare backup intermittent catheters though, and syringe to remove indwelling catheter in case of blockage).
If nervous about toileting, start with a shorter walk and work your way up to doing longer trips as your confidence to manage these concerns increases.
Stay hydrated and adapt to weather conditions
Carry plenty of water to stay well hydrated on the track.
Wheelchair users may be more susceptible to hot and cool weather. If hot weather conditions are forecast, wear light loose clothing that protects from the sun, and consider pouring water over legs and core during the trip to prevent overheating. If cool weather conditions are forecast, wear several layers, a warm hat and gloves. In rainy conditions, as well as using a rain jacket, consider rain pants as a way of keeping legs warm.
Assistance
Getting a little assistance on a bushwalking track can go a long way to making the trip far less exhausting, more social and enjoyable and give you time and energy to actually enjoy your surroundings. For more details on assistance techniques see post on providing assistance.
- In camp
Setting up tent
A few things that wheelchair users may find helpful when pitching their tent at camp include:
Cooking & campfires
Campfires are great fun. A few things that wheelchair users may keep in mind include:
- If possible, raise up your stove or campfire. This provides an easier working space for wheelchair users to add wood and cook on the fire. At some campsites, there are designated campfire grates for this.
- Think about ways to organise gear to prevent you from going back and forth between the fire, your tent and your bags. Consider keeping all food and cooking equipment in a calico bag that can be hung from the back of your chair or stored underneath.
Look after yourself and your gear when you get home. If you notice any recurring pain or injuries from the trip, don’t leave it to chance, get a medical professional’s opinion.
For your equipment, do a check when you get home, remove mud, sand, oil the parts, do any repairs. Get it serviced regularly.